How to Get Started on Mac OS

Support Team
Last Update 4 lata temu
1.Register
The first thing you need to do to start using the Deskcove is to register.
You need to navigate app.deskcove.com/register for that.
On the register page, you will be presented with a form.
Once all the required fields are populated, click “Create Account” button.

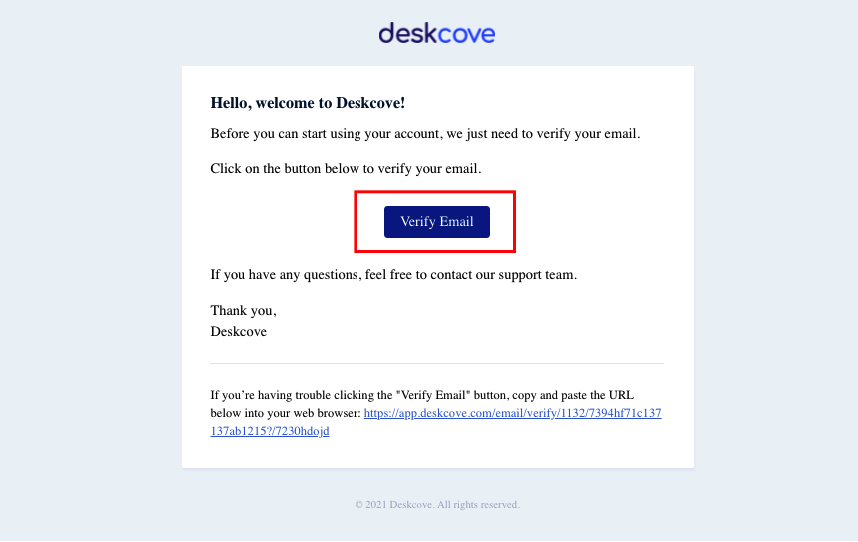
2. Verify Email
Your account has been created. Now, all you have to do is verify the email you provided during the registration page.
Simply click “Verify Email” button.
3. Download Deskcove App
Now you need to download the Deskcove Client app to track your time & productivity.
Please navigate to app.deskcove.com/download page.
Alternatively, you can scroll down and click on the download link button on the footer.
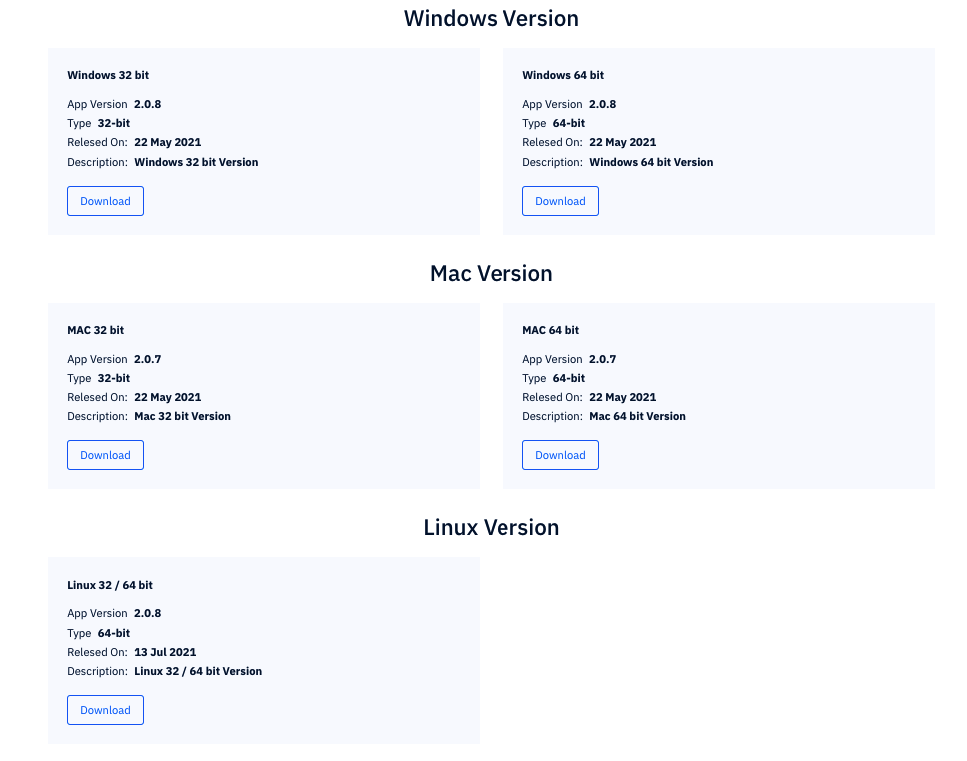
Complete the download process by making sure that you have selected the correct version of your device.
4. Set up
Once you download the app, now you can start the setup process.
The first thing you have to do is open the deskcove.dmg file.
NOTE: Make sure Move the Deskcove Client to the Applications folder.
The application Deskcove Client must be in the Applications folder to retrieve full permission.
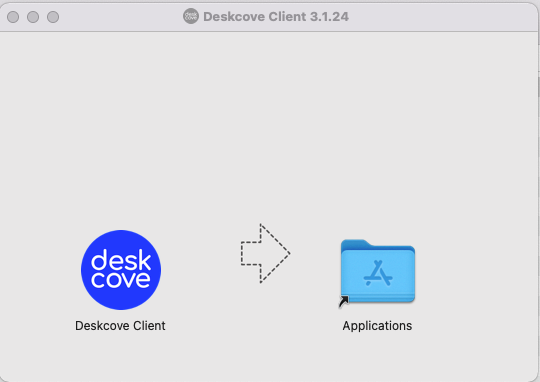
You can close this popup after moving Deskcove Client to the application folder.
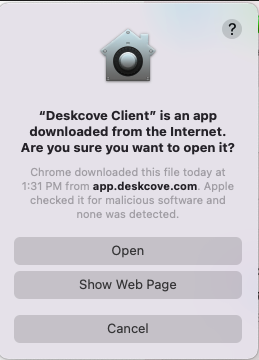
Navigate to the Applications folder, find the Deskcove Client and click on it twice.
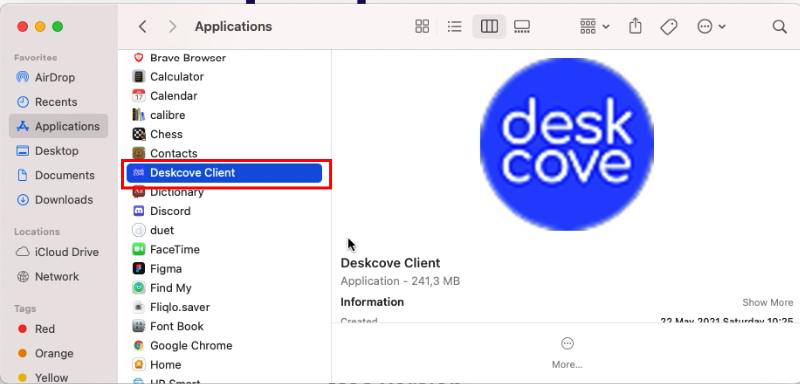
A pop up will appear, click on “Open”
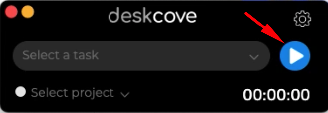
Finally, Deskcove Client app will open. Fill out your email address and password.

Click on play button to start your timer.
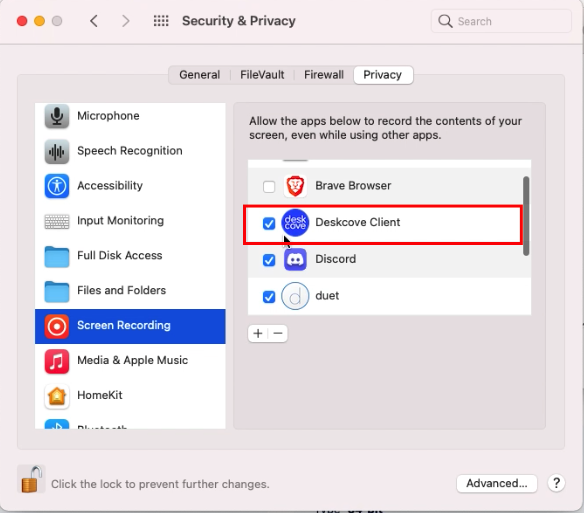
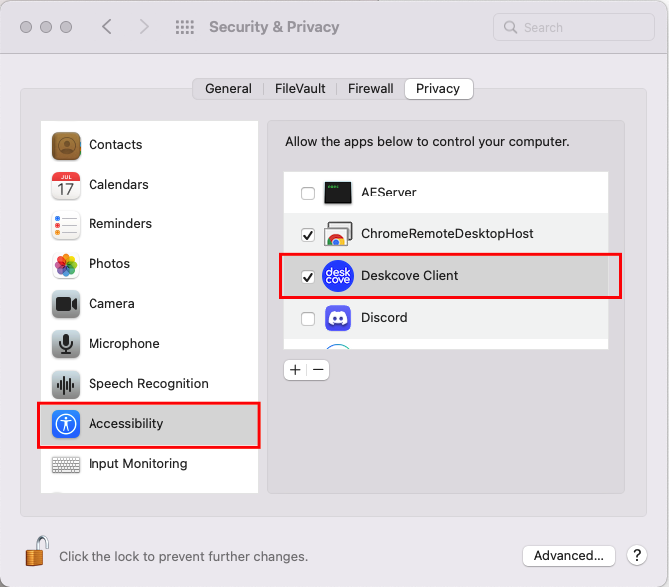
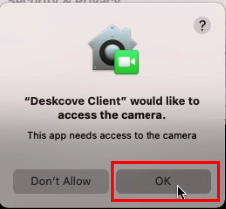
Meanwhile your mac is going to ask you some permission. Allow all and start using all the features of the Deskcove.
Thank you for choosing Deskcove!